Trezor Bridge Download: Securely Connect Your Trezor Hardware Wallet
Introduction
Trezor Bridge is a crucial software component for anyone using a Trezor hardware wallet. It acts as a secure communication layer between your Trezor device and your computer or web browser. Without Trezor Bridge, web applications and desktop interfaces may not be able to detect your hardware wallet properly. Downloading and installing Trezor Bridge ensures smooth, secure management of your cryptocurrency assets.
This guide provides a comprehensive overview of Trezor Bridge, including its features, installation process, setup, troubleshooting, and best security practices.
What Is Trezor Bridge?
Trezor Bridge is middleware software that allows your computer or browser to communicate safely with your Trezor hardware wallet. Its main function is to create a secure channel for commands sent between the software interface and the device, ensuring that private keys remain offline at all times.
Trezor Bridge is particularly important for web-based cryptocurrency management or for systems where direct USB communication through the browser may not be supported.
Key Features of Trezor Bridge:
Secure encrypted communication between hardware wallet and software
Compatible with Windows, macOS, and Linux
Works with major web browsers such as Chrome, Firefox, and Edge
Enables seamless operation of Trezor Suite or supported web wallets
Supports automatic updates to maintain security and compatibility
Why You Need Trezor Bridge
Trezor Bridge ensures your hardware wallet is recognized correctly by your computer or browser. Without it, you may experience connectivity issues, failed transactions, or problems accessing your cryptocurrency accounts. The software provides the following benefits:
Ensures all communication between your device and applications is secure
Facilitates smooth integration with Trezor Suite and other compatible software
Allows browser-based applications to safely interact with your Trezor wallet
Reduces the risk of errors or interruptions during transactions
Keeps private keys offline, preventing exposure to malware or hackers
Supported Platforms
Trezor Bridge is designed to work across multiple operating systems. The supported platforms include:
Windows: Compatible with most modern versions of Windows, including Windows 10 and Windows 11
macOS: Works on recent macOS versions
Linux: Compatible with major Linux distributions, with installation packages available in various formats such as AppImage or DEB
Before installing, ensure your operating system is up to date for the best compatibility and performance.
Step 1: Download Trezor Bridge
To download Trezor Bridge, visit the official Trezor website to ensure you are obtaining a legitimate version.
Choose the correct version for your operating system: Windows, macOS, or Linux
Download the installer package to your computer
Avoid third-party websites to prevent downloading malicious or tampered software
Step 2: Install Trezor Bridge
After downloading, follow these steps to install Trezor Bridge:
Windows Installation:
Open the downloaded EXE or MSI file
Follow the on-screen prompts to install the software
If prompted by your firewall, allow Trezor Bridge to run
Once installed, Trezor Bridge will run as a background service
macOS Installation:
Open the downloaded DMG file
Drag Trezor Bridge into the Applications folder
Follow prompts to complete installation
Confirm that the software is running by connecting your Trezor device
Linux Installation:
Use the provided AppImage or DEB package depending on your distribution
Run the installation command in the terminal
Ensure the software has the necessary permissions to communicate with USB devices
Verify that Trezor Bridge is active by connecting your device
Step 3: Connect Your Trezor Device
Once installed, connect your Trezor hardware wallet to your computer:
Use the USB cable that came with your device
Enter your PIN directly on the Trezor device
The computer or browser should now detect your device through Trezor Bridge
This step establishes a secure communication channel, allowing you to manage your cryptocurrencies safely.
Step 4: Accessing Your Cryptocurrency Wallet
After Trezor Bridge is installed and your device is connected:
Open Trezor Suite or any supported web-based wallet
Select the cryptocurrency account you want to access
Confirm that your device is detected and authenticated
All commands and transactions are routed through Trezor Bridge, ensuring private keys remain on the hardware wallet and offline.
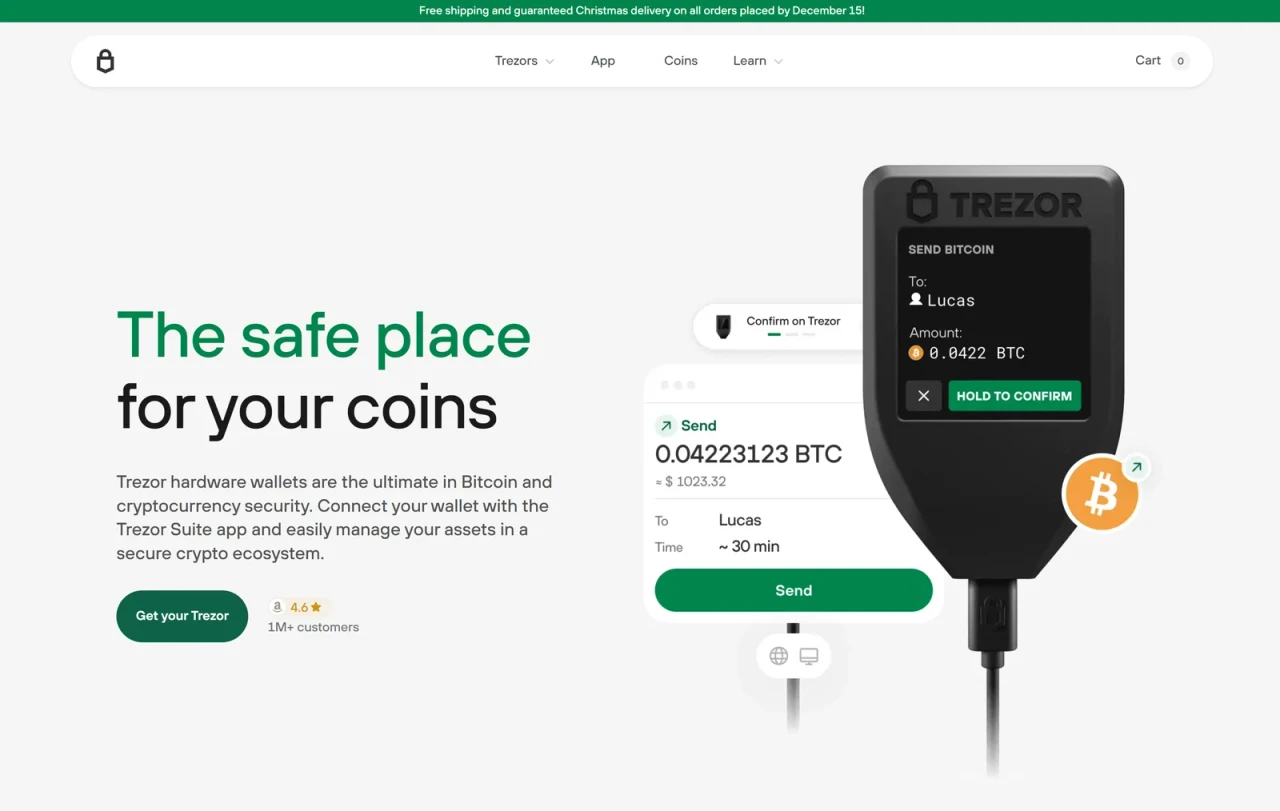
Step 5: Sending and Receiving Cryptocurrency
With Trezor Bridge operational, you can safely send and receive cryptocurrencies:
Receiving Funds:
Select the cryptocurrency account to receive funds
Click the “Receive” option and verify the address on your Trezor device
Share the verified address with the sender
Sending Funds:
Click the “Send” option and enter the recipient’s address and amount
Review the transaction details on the device
Confirm the transaction physically on the Trezor device
Trezor Bridge ensures that all transactions are executed securely, preventing unauthorized access or malware interference.
Step 6: Updating Trezor Bridge
Regular updates for Trezor Bridge are important to maintain security and compatibility:
The software may prompt you when an update is available
Always download updates from the official source
Updates ensure Trezor Bridge works with the latest operating systems, browsers, and Trezor firmware versions
Keeping Trezor Bridge up to date minimizes the risk of connectivity issues and enhances security.
Troubleshooting Common Issues
Even with proper installation, users may encounter issues:
Device Not Detected: Check USB connections, try a different cable, or restart your computer
Browser Detection Issues: Restart your browser and ensure Trezor Bridge is running
Authentication Problems: Reconnect the device and confirm addresses on the hardware wallet
Failed Updates: Retry with a fully charged device and ensure you have the latest installer
Following troubleshooting steps can resolve most common problems quickly and safely.
Security Best Practices
To ensure the highest security when using Trezor Bridge:
Always download the software from official sources
Never share your PIN or recovery seed
Verify transaction addresses on the Trezor device before approval
Keep the operating system, browser, and Trezor Bridge updated
Avoid using public or shared computers for cryptocurrency management
Adhering to these practices ensures your assets remain secure against phishing attempts, malware, and unauthorized access.
Benefits of Using Trezor Bridge
Using Trezor Bridge provides multiple advantages:
Enables secure communication between your device and software interfaces
Ensures compatibility with web wallets and desktop applications
Keeps private keys offline, preventing exposure to online threats
Supports multiple operating systems and browsers
Provides a seamless and reliable experience for sending, receiving, and managing cryptocurrencies
Trezor Bridge is an essential component for anyone using a Trezor hardware wallet.
Conclusion
Trezor Bridge Download is a vital step for securely managing cryptocurrencies with a Trezor hardware wallet. It creates a secure communication layer between your device and computer or browser, allowing you to access accounts, send and receive funds, and use advanced wallet features safely.
From installation and setup to troubleshooting and best security practices, Trezor Bridge ensures that your cryptocurrency management experience is smooth, efficient, and secure. Keeping the software updated and following security protocols guarantees that your digital assets remain protected at all times.
For anyone using a Trezor wallet, downloading and installing Trezor Bridge is not optional—it is an essential requirement for safe and reliable cryptocurrency management.